Do you want your Hisense TV’s audio to sound better? Using an optical connection to connect a sound bar is a simple and efficient method. This improves your audio experience and is very straightforward to set up. We’ll walk you through the process of utilizing an optical cable to connect your sound bar to your Hisense TV in this helpful tutorial. You may quickly lose yourself in the high-quality sound, whether you’re watching your favorite movie or playing your favorite game. Let’s get started!

Connect Sound Bar To Hisense TV With an Optical Cable
1. Look for optical ports on your TV and Sound Bar
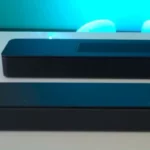
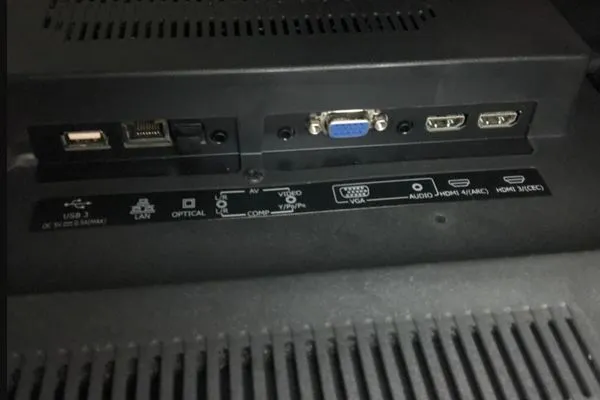
Make sure your TV and sound bar both have optical ports as the first step. On the back of your TV and sound bar, look for a square port with the words “Optical” or “TOSLINK” written on it.
2. Connect the TV and Optical Cable
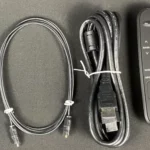
Next, insert one end of the optical cable into the Hisense TV’s optical port on the back. Ensure the connector is securely fastened and that it is fully inserted.
3. Join the Sound Bar and Optical Cable
The other end of the optical cable has to be connected to your sound bar at this point. Put the cable into the optical port on the rear of your sound bar. Ensure that it is securely inserted and fastened.
4. Configure your TV’s Audio Output
You must configure the TV’s audio output after connecting the optical connection to the sound bar and TV. Find the audio or sound choices in the settings menu of your TV by using the remote control. Look for and pick the “optical” or “digital audio out” option to alter the audio output. By doing this, you can be confident that the optical connection is being used to transmit the audio signal to your sound bar.
5. Test The Audio
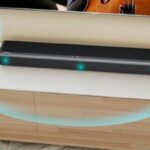
Turn on your TV and sound bar and play some audio to test the connection after finishing the preceding instructions. You have successfully used an optical cable to connect your Hisense TV to your sound bar if the audio is playing through the sound bar.
Tips
Make sure the optical cable is long enough to pass tension-free from your TV to your speaker.
Make sure you’re utilizing the right optical port for the input signal if your sound bar has several optical ports.
You may also use an extra optical cable or an HDMI cable to connect the sound bar to other devices that are connected to your TV, such as a game console or a cable box.
Congratulations! You’ve used an optical connection to successfully link your Hisense TV to a sound bar. Now that the audio quality of your favorite content has been improved, you can sit back, relax and enjoy it. We really hope that our helpful guide has made the procedure easier for you and that you can now fully enjoy the amazing sound that your sound bar has to offer. Please contact the manufacturer or seek expert assistance if you have any questions or concerns. Happy viewing and thanks for reading!
Related To Hisense –
No Sound On Hisense Roku TV – Fix It Now!
Hisense Roku TV Won’t Turn On Red Light Blinks Twice
Connect Sound Bar To Hisense TV With HDMI